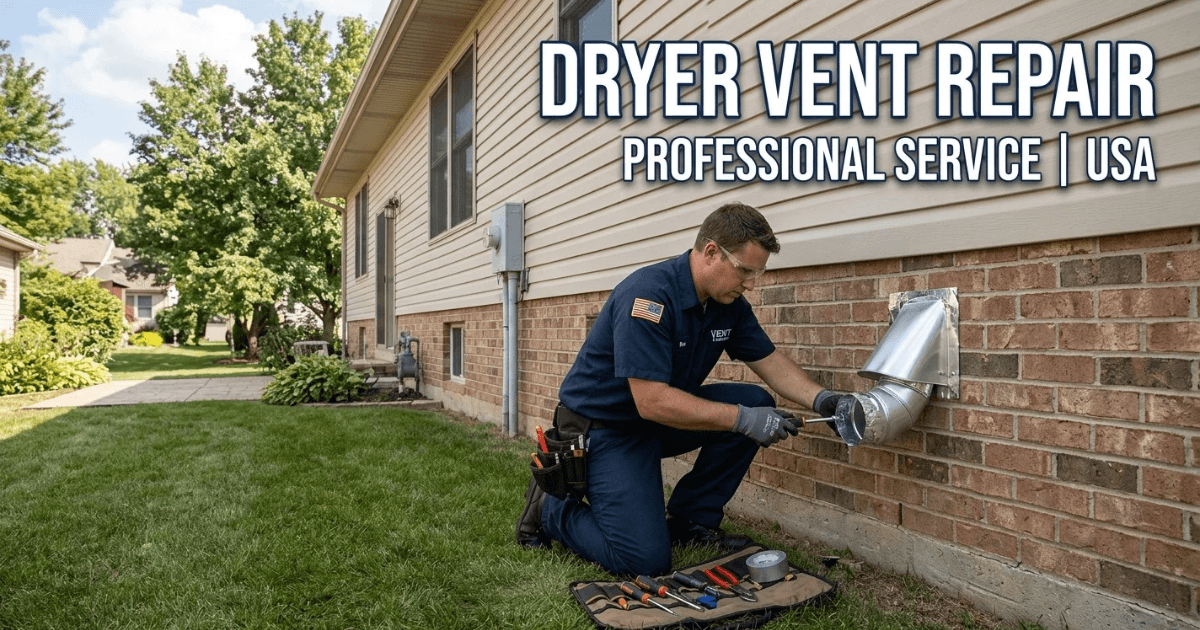
A dryer vent system is made up of the short flexible hose behind the dryer (the transition duct), the main duct run, elbows and joints, the supports that hold it up, and the cover where it exits the house.
Dryer vent repair means finding what’s wrong anywhere along that path and fixing it. That might be replacing a crushed section, reconnecting a joint that has pulled apart, rerouting a run with too many bends, or replacing a broken roof or wall cap. Most jobs also include a cleaning, because a repaired duct that is still full of lint won’t perform much better.
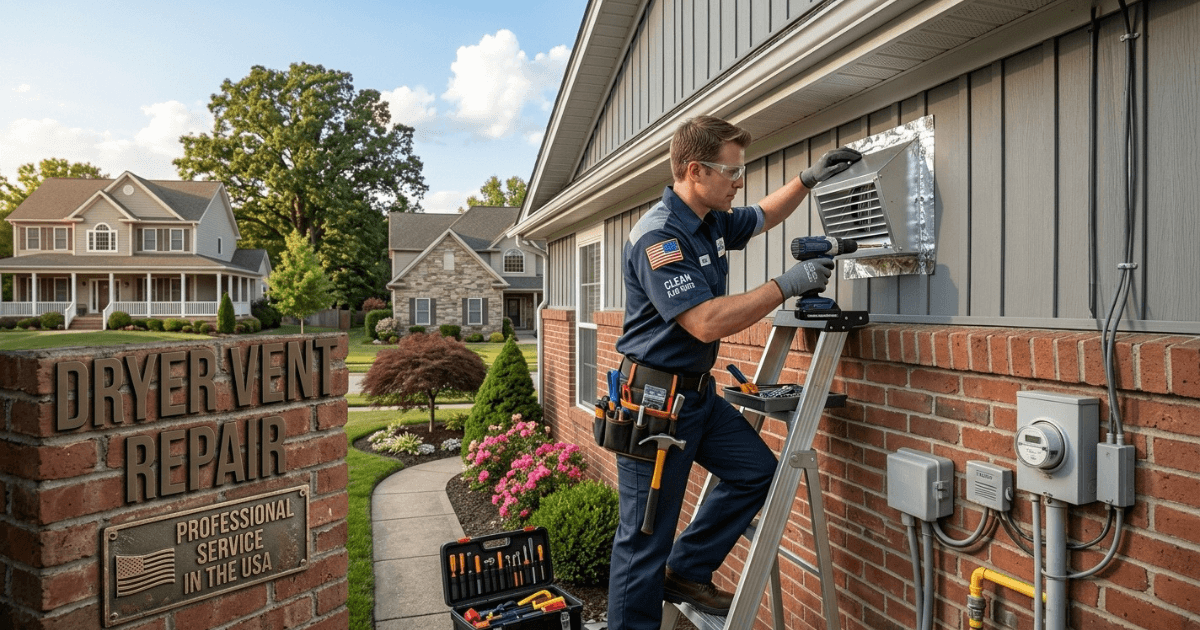
Why Denver Homes Have Their Own Dryer Vent Problems
The Front Range climate and housing styles put extra strain on dryer vents:
- Long attic and basement runs. In many homes in Aurora, Lakewood, Arvada, Littleton, Centennial, and Highlands Ranch, the laundry room sits in the middle of the house or on an upper floor. The vent has to travel 20 to 30 feet or more before it exits, and every extra foot and every bend slows the air down.
- Roof vents. When the duct exits through the roof, lint has to be pushed straight up. Blocked roof caps are one of the most common problems I see.
- Cold winters and condensation. Warm, damp air moving through a cold attic or an exterior wall cools quickly. The moisture condenses inside the duct, mixes with lint, and builds a sticky clog. In deep cold, a wall flap can even freeze shut.
- Hail and high winds. Colorado storms crack and loosen roof caps and wall flaps. After a hailstorm, it’s worth having someone look at the outside of your vent.
- Older homes. Brick bungalows and older houses in Capitol Hill, Washington Park, and the Highlands often have long, awkward runs through basements and crawl spaces, and some still use old foil or plastic ducts that don’t meet today’s standards.
Signs Your Dryer Vent Needs Repair
Your dryer usually gives warnings well before something serious happens. These are the signs that point to a vent problem.
- Clothes take too long to dry
If a normal load needs a second cycle, the air isn’t leaving the house fast enough. - The dryer runs too hot
When hot air can’t escape, it stays in the drum. If the dryer or the clothes feel unusually hot, the vent is likely restricted. - A burning or musty smell
A burning smell often means lint is overheating. A musty smell means damp air is leaking into the house instead of going outside. Both need a professional look. - Lint or humidity in the laundry room
Lint collecting behind the dryer usually means a loose or torn connection. If the room feels steamy while the dryer runs, warm air is escaping indoors. - The outside flap doesn’t open
Go outside while the dryer is running and look at the vent cover. If the flap barely moves or stays shut, air isn’t getting through. For roof vents, look for lint around the cap or a bird nest visible from the ground. - Unusual noises
Rattling or flapping sounds in the wall or ceiling can mean a duct has come loose from its supports, or that something is stuck in the vent.
Common Problems That Need a Professional Repair
The root cause decides the fix. Sometimes a vent only needs cleaning, sometimes one section needs replacing, and sometimes the whole run has to be redone.
- Crushed or kinked ducts. The flexible hose behind the dryer flattens easily when the dryer is pushed too close to the wall, and a flattened hose traps lint fast.
- Loose or separated joints. Vibration and moving the dryer loosen joints over time. In an attic, a separated joint can blow lint and warm, damp air into the insulation for months before anyone notices.
- Damaged vent covers. A broken wall flap or roof cap lets in rain, snow, birds, and rodents, and a stuck flap blocks airflow.
- Foil or plastic ducts. These are no longer allowed for the main run. They get replaced with smooth rigid metal duct, which collects less lint and is much safer.
- Poor installation. Too many bends, sagging duct with no supports, and screws that poke into the duct all catch lint. Screws are especially common, since each one becomes a small lint hook.
What the Code Says About Dryer Vents
Denver follows the International Residential Code with local amendments. The basic dryer vent rules are worth knowing because they show whether an installation was done properly:
- The main duct should be 4-inch smooth metal, not foil or plastic.
- The total run should be no more than 35 feet, minus about 5 feet for every 90-degree bend and 2.5 feet for every 45-degree bend, unless the dryer manufacturer allows a longer run.
- Joints should be secured with foil tape or clamps, not screws that protrude into the duct.
- The outside cover needs a backdraft damper and should not have a screen, because screens catch lint.
- The flexible transition hose behind the dryer should be one piece, no longer than 8 feet, and should never run inside a wall or ceiling.
Many homes along the Front Range with long attic runs don’t meet the 35-foot rule. In those cases, rerouting the duct or adding an approved dryer booster fan may be the right repair.
Our Dryer Vent Repair Services
A real repair goes beyond reconnecting a loose hose. We look at the whole system, from the back of the dryer to the outside cover.
- Duct replacement: New rigid metal duct where sections are crushed, torn, or made of foil or plastic.
- Elbow and joint repair: Replacing crushed elbows and sealing leaking joints with foil tape and clamps.
- Roof cap and wall vent replacement: New covers that keep out rain, snow, birds, and pests while letting air out freely.
- Rerouting: A shorter, straighter path that gets air outside faster.
- Support repair: New straps and hangers so attic ducts don’t sag and pull apart.
- Code upgrades: Bringing older installations up to current code and the dryer manufacturer’s instructions.
- Cleaning: Removing lint from the whole run with rotary brushes and vacuum equipment.
What a Professional Repair Visit Looks Like
- Inspection. We check the dryer connection, the full duct run, every joint, and the outside cover, and measure airflow at the exit.
- Finding the cause. We identify what is really behind the problem, such as a crushed section, a separated joint, the wrong material, or a run that’s too long.
- Repair. We replace damaged sections, reconnect joints, fix the routing, and upgrade old materials.
- Cleaning. We clear lint from the entire system so the repair works as intended.
- Sealing. We seal every joint with foil tape and clamps.
- Testing. We measure airflow again to confirm air is leaving the house properly, and we send before-and-after photos so you can see what was fixed.
Benefits of Fixing Your Dryer Vent
- Faster drying: Most loads dry in a single cycle again.
- Lower fire risk: According to the National Fire Protection Association, US fire departments responded to an average of about 13,820 home fires involving dryers each year from 2014 to 2018, and the leading cause was failure to clean them.
- Lower energy bills: Shorter cycles use less gas or electricity, which helps in winter when your furnace is already running hard.
- A longer-lasting dryer: Less heat and strain on the heating element, thermostat, and motor.
- Less moisture indoors: Damp air goes outside instead of into your laundry room and attic.
Repair, Cleaning, or Full Replacement?
Cleaning removes built-up lint. It’s enough when the duct itself is in good shape.
Repair fixes specific damage, like a crushed elbow, a loose joint, or a broken roof cap.
Full replacement makes sense when the whole run is old foil or plastic, badly damaged, or routed in a way that can’t be fixed in sections. Many vents need both a cleaning and a repair. An inspection shows which one yours needs, and a good technician will tell you honestly if cleaning alone is enough.
How to Keep Your Dryer Vent in Good Shape
- Clean the lint filter after every load.
- Leave a few inches between the dryer and the wall so the hose doesn’t get crushed.
- Check the hose behind the dryer for kinks or tears every few months.
- Never use foil or plastic duct for the main run.
- Look at the outside cover after hail or wind storms, and check for lint or nests at roof vents.
- In winter, make sure the exterior flap isn’t blocked by snow or ice.
- Have the vent cleaned once a year, or more often if you have pets, a big family, or a long attic run.
Conclusion
A healthy dryer vent means faster drying, lower bills, and a safer home. In Denver, long attic runs, roof vents, and cold-weather condensation make problems more likely, so it pays to catch them early. If your dryer is taking longer than it used to, don’t wait for a burning smell. Get the vent checked.
FAQs
How often should I have my dryer vent cleaned in Denver?
Once a year is a good baseline. If you have pets, do a lot of laundry, or have a long attic or roof vent, every six months is safer.
Can I repair my dryer vent myself?
You can clean the lint filter, straighten the hose behind the dryer, and clear lint from a wall flap you can reach. Attic, crawl space, and roof work, and any rerouting, is best left to a professional.
Will fixing my dryer vent make my dryer work well?
Yes. Once air flows freely, most dryers dry a normal load in one cycle again, and they use less energy doing it.
